
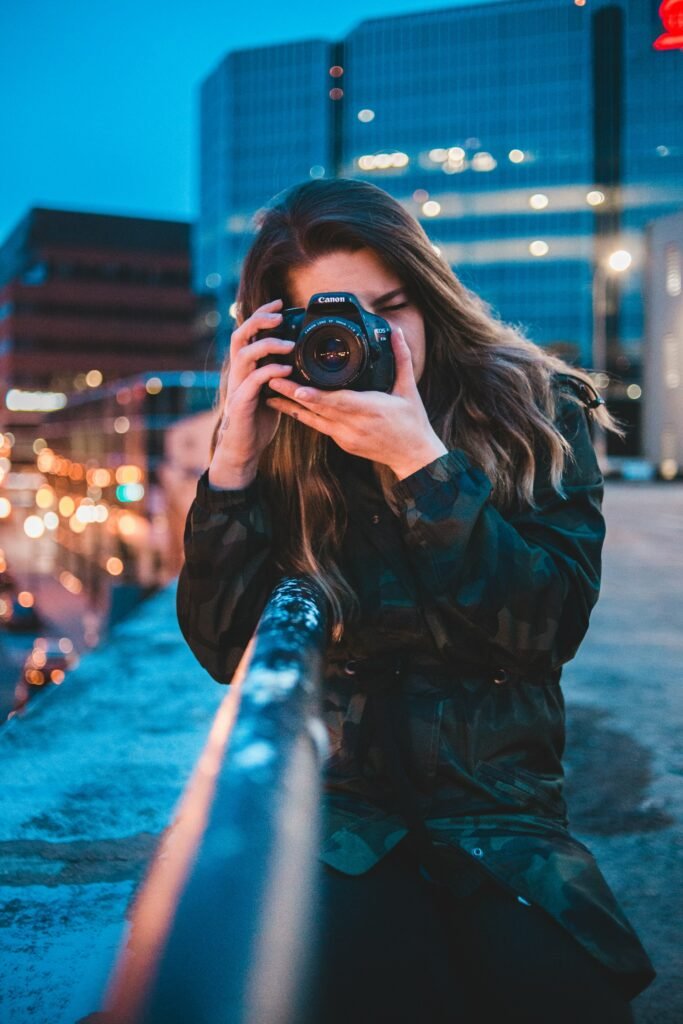
Ever look at a photo and feel like something is missing?
The composition is good, the subject is interesting, and the lighting isn’t terrible. But somehow, the image just doesn’t have that visual impact you were hoping for.
This is where Photoshop can make a huge difference.
You don’t need to be a professional photographer or spend hours editing every little detail. Sometimes, a few simple adjustments are enough to turn an ordinary-looking photo into something much more eye-catching.
Here are seven Photoshop techniques you can use to make your photos stand out.
One of the easiest ways to make a photo more interesting is to draw attention to your main subject.
Think about it. When you look at a photograph, your eyes naturally gravitate towards areas with brighter lighting, stronger contrast, and more detail.
You can take advantage of this using Photoshop’s adjustment tools.
Start by opening your image and creating a Curves adjustment layer.
Gently lift the curve to brighten the overall image. Then invert the layer mask using Ctrl + I (Windows) or Cmd + I (Mac).
Grab a soft white brush and paint over the subject to reveal the brightness adjustment only where you want it.
You can also create another Curves adjustment layer to slightly darken the background.
The result? Your subject becomes more prominent without having to make any drastic changes to the original photograph.
Flat-looking photos are often missing one important ingredient: contrast.
Contrast helps separate different elements in your image, giving objects more depth and making details easier to see.
One simple method is to use a Curves adjustment layer.
Open the Curves panel and create a subtle S-shaped curve.
Pull the lower portion of the curve down slightly to darken shadows, then lift the upper portion to brighten highlights.
Don’t go overboard. Too much contrast can destroy shadow details and make bright areas look unnatural.
A little adjustment can go a surprisingly long way.
Have you ever noticed how some photographs have incredibly rich colours without looking overly saturated?
The secret is often selective colour adjustment.
Instead of increasing the saturation of the entire photograph, focus on the colours that actually matter.
For example, if you’re editing a landscape photo, you might want to make the blue sky slightly richer and the green foliage more vibrant.
Go to Image > Adjustments > Hue/Saturation, or preferably create a Hue/Saturation adjustment layer.
Choose a specific colour from the dropdown menu and adjust its saturation.
You can also use the targeted adjustment tool to select the exact colour you want to modify.
This gives you much more control than simply increasing the saturation of everything.
A vignette is a simple photographic effect that darkens the edges and corners of an image.
It might sound like a small adjustment, but it can make a noticeable difference.
The reason is straightforward: darkening the edges helps guide the viewer’s attention towards the centre of the photograph.
Here’s a quick way to create one in Photoshop:
Create a new Curves adjustment layer.
Pull the curve down slightly to darken the image.
Invert the layer mask using Ctrl + I or Cmd + I.
Select a large, soft white brush.
Paint around the edges of your photograph to reveal the darkening effect.
Keep the effect subtle. You don’t want your photograph looking like it’s been placed inside a dark tunnel.
A photograph can have beautiful colours and excellent lighting, but still look a little soft.
Sharpening can help bring out important details, particularly around eyes, hair, clothing, buildings, and other textured surfaces.
A popular Photoshop technique is High Pass sharpening.
First, duplicate your image layer using Ctrl + J or Cmd + J.
Next:
Go to Filter > Other > High Pass.
Start with a radius of around 1–3 pixels for a typical high-resolution portrait.
Click OK.
Change the blending mode of the layer to Overlay or Soft Light.
Adjust the layer opacity until the sharpening looks natural.
You can also add a layer mask and apply the sharpening only to the areas that need it.
This is especially useful for portraits where you want the eyes and facial details to appear sharp without exaggerating skin texture.
This is one of my favourite techniques for making photographs look more polished.
Dodge and Burn allows you to selectively brighten and darken different parts of an image.
Professional retouchers use this technique to enhance facial features, improve lighting, and create a greater sense of depth.
For example, when editing a portrait, you could:
Brighten the eyes and highlights on the face.
Darken areas underneath the cheekbones.
Add subtle shadows around the jawline.
Brighten areas where light naturally hits the skin.
One easy non-destructive method is to create a new layer, fill it with 50% grey, and change its blending mode to Soft Light.
Use a soft brush with a low opacity. Paint with white to brighten and black to darken.
The beauty of this method is that you can adjust the layer opacity or erase mistakes without permanently changing your original photograph.
The final step is to give your photograph a consistent visual style.
Colour grading can completely change the mood of an image.
A warm colour grade can make a photograph feel more inviting, nostalgic, or cinematic. Cooler tones can create a more dramatic or atmospheric appearance.
Photoshop offers several ways to achieve this, but one of the easiest is the Color Balance adjustment layer.
Experiment with the Shadows, Midtones, and Highlights settings.
For example, you could introduce slightly cooler tones into the shadows while keeping the highlights warmer.
This creates a subtle separation between different lighting areas and can give your photograph a more professional appearance.
Just remember that colour grading should complement the photograph, not completely change what it looks like.
If you’d like to learn more Photoshop techniques, editing tricks, and step-by-step tutorials, check out my YouTube channel.
I regularly share Photoshop tutorials covering everything from basic photo editing to more advanced techniques that can help you get more out of your images.
Watch my Photoshop tutorials on YouTube
Whether you’re a complete beginner or already have some experience with Photoshop, there’s plenty more to explore.