If you’ve ever tried to cut out smoke in Photoshop, you already know it’s nothing like selecting a person or an object. Smoke isn’t solid. It’s soft, blurry, messy, and half-transparent. Most tools get confused.
But the good news is—you can select smoke cleanly once you understand how Photoshop reads texture and contrast.
In this short guide, I’ll explain the idea behind the technique.
If you want the full step-by-step tutorial, I’ve already made the video, and you can watch it here:
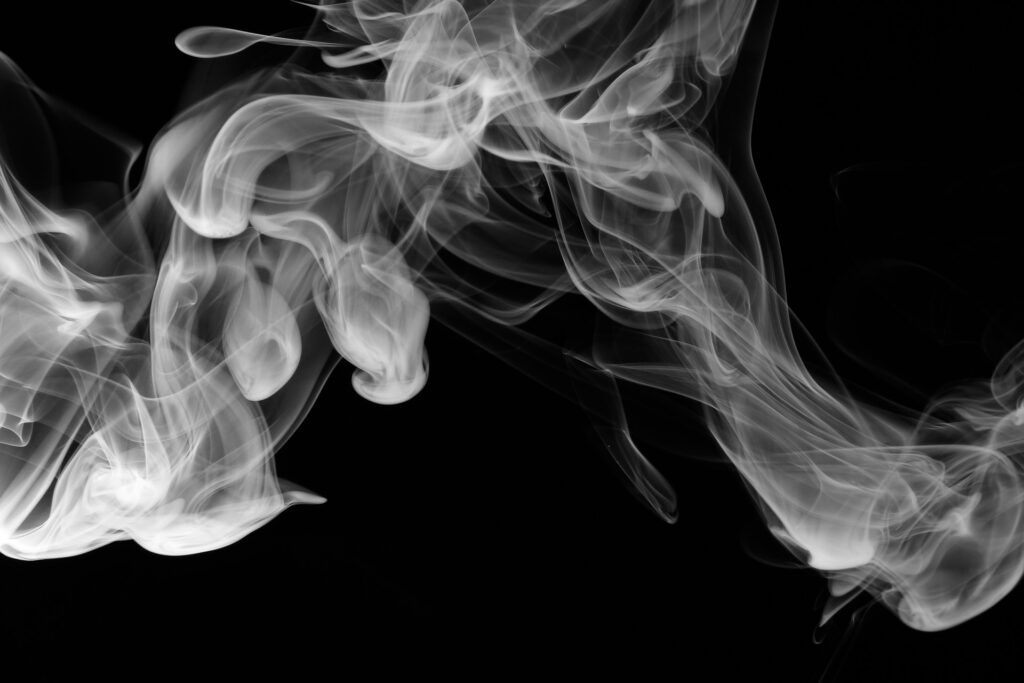
Smoke doesn’t have a defined edge. Photoshop relies on contrast, edges, and solid shapes to detect boundaries.
Smoke has none of that—it’s just wispy texture with soft gradients.
So if you use tools like the Magic Wand, Quick Selection, or even AI Select Subject… they all fail.
The trick is using tools that read luminance instead of edges.
You don’t “select the smoke.”
You select the brightness pattern that makes the smoke visible.
When Photoshop sees smoke, what it actually notices is:
lighter areas
darker background
subtle texture differences
That’s why the most accurate way to select smoke is by isolating those bright areas instead of trying to trace the smoke manually.
Once you understand this, everything becomes easier—masking, blending, recoloring, and moving smoke into other images becomes a smooth process.
Once you have a clean smoke selection, you can:
add dramatic lighting
change the color
blend it into product shots
make realistic fire effects
add atmosphere to portraits
create gaming-style edits
build cinematic scenes
Smoke is one of those elements that instantly adds mood when used properly.
If you want to see the exact steps, I break down everything in the video.
You can watch it here:
👉 https://www.youtube.com/watch?v=QDNrNnIsiNQ
I post short, simple Photoshop tutorials that anyone can follow.
Join here:
👉 Youtube
Thanks for reading!