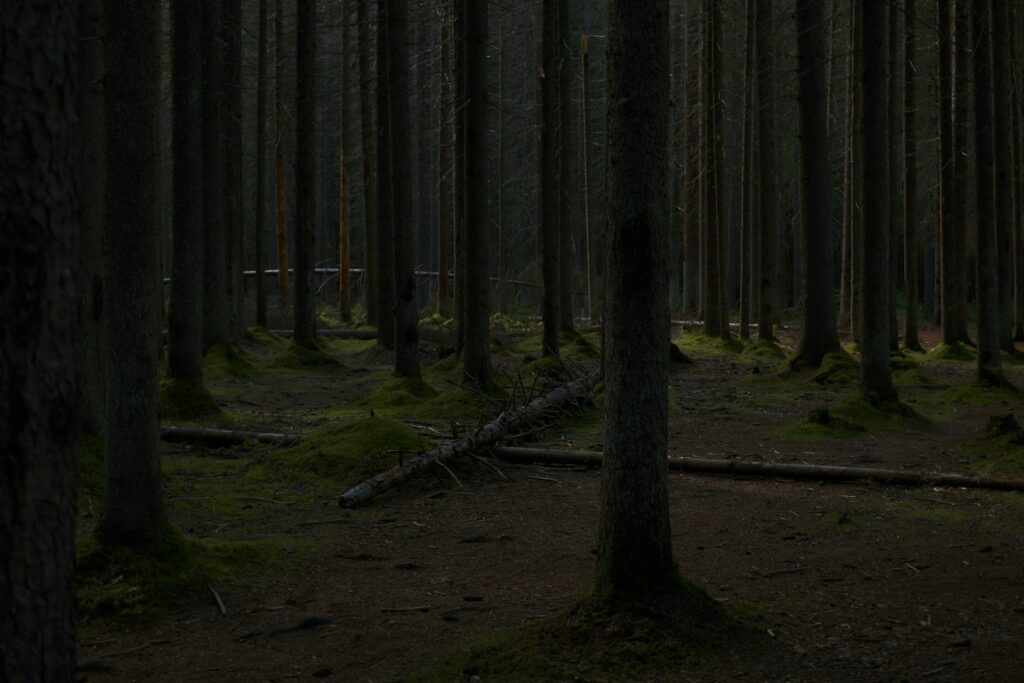
In my latest video, I walk you through a simple process to fix underexposed photos quickly and effectively. I cover how to adjust exposure, enhance shadows and highlights, and fine-tune your image so it looks natural—no over-the-top filters or fake effects. Whether it’s a landscape that got swallowed by shadow or a portrait that feels flat, this method will make your shots come alive.
Even small tweaks can make a massive difference. A slightly brighter exposure, a touch of contrast, and some careful adjustment to highlights can transform your photo from dull and dark to something you’ll actually want to share. Once you see the results, you’ll wonder why you ever struggled with dark photos in the first place.
Don’t let underexposed photos collect dust on your hard drive. Watch the full guide on my YouTube channel, see the transformation in real time, and start fixing your images like a pro.
 Check out the video and subscribe for more Photoshop tips and tricks!
Thanks for reading!