
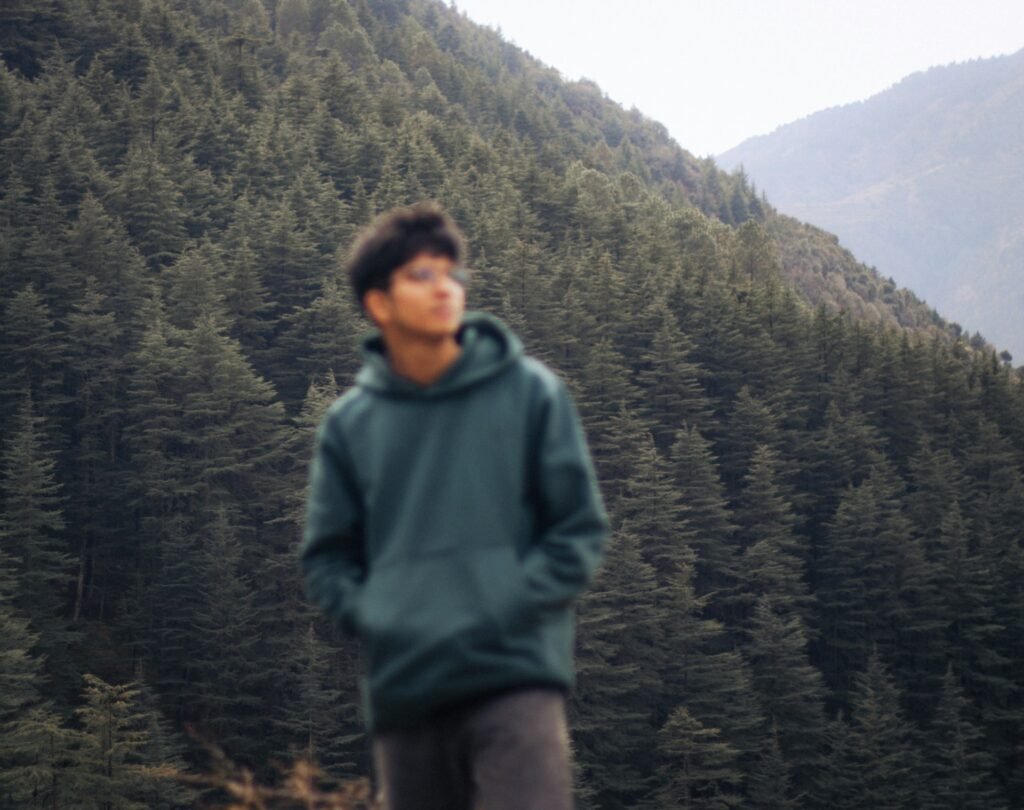
Have you ever taken a photo that looked fine on your camera or phone, only to realise later that it was blurry?
Maybe the subject moved, the camera shook, the focus was slightly off, or the image simply wasn’t very sharp to begin with.
The good news is that Photoshop has several ways to improve a blurry photo. And with Photoshop’s newer AI-powered tools, fixing certain types of blurry or low-quality images is easier than it used to be.
However, there’s an important catch: Photoshop can’t magically recover detail that was never captured. The goal is to make the photo look sharper and cleaner, not turn a badly blurred photo into a perfectly sharp one.
Here’s how I would approach it in 2026.
Open the image you want to fix in Photoshop.
Before doing anything else, duplicate the original layer. This gives you a backup and lets you compare the edited version with the original.
You can duplicate the layer by pressing Ctrl+J on Windows or Command+J on Mac.
It’s usually a good idea to work non-destructively whenever possible.
Photoshop has become much better at dealing with difficult images thanks to its newer AI-powered features.
Depending on the problem, tools such as Generative Fill, Generative Expand and Photoshop’s newer image-enhancement features can sometimes help reconstruct or improve parts of an image.
AI works particularly well when the problem isn’t extreme blur but rather an image that is slightly soft, low resolution or missing useful detail.
For example, if you have an old photograph that is both small and blurry, you may get better results by improving the image first and then applying traditional sharpening.
For a straightforward blurry photograph, one of the easiest places to start is Smart Sharpen.
Go to:
Filter → Sharpen → Smart Sharpen
You’ll see several settings that control how much sharpening Photoshop applies.
The exact settings depend heavily on the photograph, but as a starting point you can experiment with:
Don’t automatically push the sharpening as high as possible.
Too much sharpening creates ugly halos around edges and can make skin, hair and other fine details look unnatural.
The goal is to make the image appear sharper, not obviously sharpened.
Despite its strange name, Unsharp Mask is another useful way to sharpen photographs.
Go to:
Filter → Sharpen → Unsharp Mask
Again, the best settings depend on the image.
A small radius with a moderate amount of sharpening can work well for photographs that are only slightly soft.
I generally prefer making several small adjustments rather than applying an extreme sharpening effect in one go.
This is an important distinction.
A photograph can look bad because it is:
These problems aren’t identical.
Sharpening can improve the appearance of a slightly soft photograph, but it can’t completely undo severe motion blur or an image that was originally captured at extremely low resolution.
This is where Photoshop in 2026 is very different from Photoshop from years ago.
AI can make educated guesses about what details might belong in an image.
That can produce impressive results, particularly with faces, objects and common photographic subjects.
But there’s a downside.
Sometimes AI doesn’t actually recover the original detail. It invents plausible-looking detail.
That distinction matters.
If you’re restoring an important photograph, compare the AI-enhanced version with the original carefully. A result can look sharper while actually becoming less accurate.
One of the easiest mistakes beginners make is sharpening the entire photograph equally.
You don’t necessarily want every part of the image to be extremely sharp.
For a portrait, for example, you might want to bring out detail in the eyes and hair without making every pore and skin imperfection more obvious.
You can add a layer mask and paint the sharpening into the areas that need it.
This gives you much more control than simply sharpening the entire image.
Sharpening can make existing noise much more obvious.
If your photograph was already noisy, you may find that the image looks worse after sharpening.
In that situation, try reducing noise before or after sharpening and compare the results.
There isn’t one perfect order for every photograph.
Photoshop is ultimately about finding the combination that looks best for that particular image.
This is probably the most important tip.
When you’re editing a blurry photograph, it’s easy to keep increasing the sharpening because the image looks better every time you increase it.
Then you zoom out and realise you’ve created a photograph covered in halos and artificial-looking edges.
A useful trick is to occasionally turn the edited layer off and compare it with the original.
If the difference is subtle but the photograph looks noticeably better, you’ve probably done enough.
Unfortunately, no.
If a photograph is severely out of focus or has significant motion blur, Photoshop can’t perfectly reconstruct the original photograph.
AI can sometimes produce a surprisingly convincing result, but it may be creating details rather than recovering them.
For mildly blurry or soft photographs, however, Photoshop can make a very noticeable improvement.
The best results usually come from combining several techniques rather than relying on one filter.
If your photo is only slightly blurry, start with Photoshop’s traditional sharpening tools such as Smart Sharpen and Unsharp Mask.
If the image is also low-resolution or severely degraded, experiment with Photoshop’s newer AI-powered features as well.
And remember: the best sharpening is the sharpening you don’t notice.
If you can look at the final image and simply think “that looks sharper” rather than “wow, that’s been sharpened,” you’re probably on the right track.
Want to see the process instead?
I’ve also made a video showing how I fix blurry photos in Photoshop:
[WATCH: How to Fix Blurry Photos in Photoshop]
You can follow along with the video while trying the techniques above.