altutorials

How to Blur Objects in Photoshop

Blurred Object done by photoshop

This guide will walk you through several methods to blur objects in Photoshop, from the basic to the more advanced techniques.

Method 1: Using the Blur Tool

The Blur Tool is a straightforward way to blur specific areas of an image. Here’s how to use it:

  1. Open Your Image in Photoshop: Start by opening the image you want to work on. Go to File > Open, then select your image.
  2. Select the Blur Tool: In the Toolbar, find the Blur Tool, which looks like a water droplet. If it’s hidden behind the Sharpen Tool or Smudge Tool, right-click the icon to select it.
  3. Adjust the Settings: At the top of the screen, you’ll see the options for Brush Size, Hardness, and Strength. A larger brush size covers more area, while a lower hardness creates a softer effect. The strength setting determines how much blur is applied with each stroke.
  4. Start Blurring: Click and drag the Blur Tool over the areas you want to blur. You can keep adjusting the brush size and strength as needed.

Method 2: Using the Gaussian Blur Filter

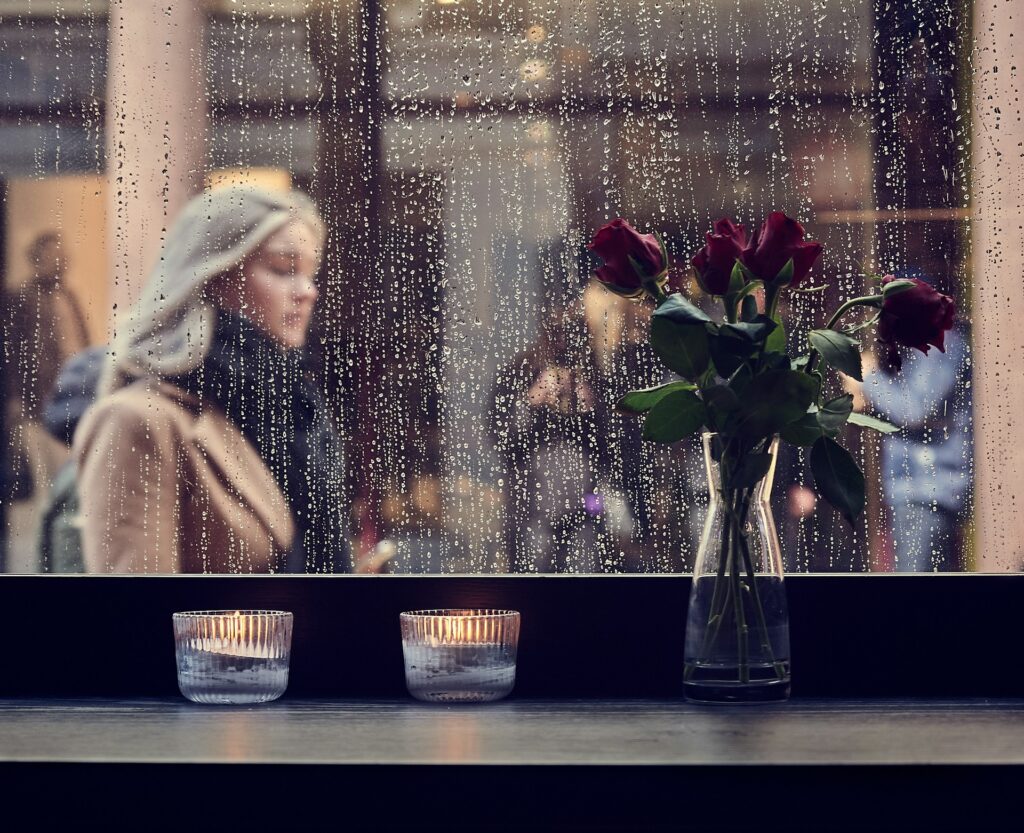
Gaussian Blur provides a more uniform blur effect and is ideal for background blurring or creating bokeh effects.

  1. Duplicate the Background Layer: In the Layers Panel, right-click the Background Layer and choose Duplicate Layer. This keeps your original image intact.
  2. Select the Area to Blur: Use a Selection Tool (like the Lasso Tool or Quick Selection Tool) to select the area you want to blur.
  3. Apply Gaussian Blur: Go to Filter > Blur > Gaussian Blur. A dialog box will appear where you can adjust the Radius slider to increase or decrease the blur effect. The higher the radius, the more intense the blur.
  4. Refine the Edges: If the transition between the blurred area and the rest of the image looks too harsh, consider feathering the selection by going to Select > Modify > Feather and entering a pixel value. This will smooth out the edges of the blurred region.

Method 3: Using the Field Blur

Field Blur allows you to create custom blurring effects with pinpoint precision. It’s great for simulating depth-of-field in images.

  1. Create a New Layer: As with Gaussian Blur, start by duplicating the background layer.
  2. Open the Blur Gallery: Go to Filter > Blur Gallery > Field Blur. You’ll see a blur pin automatically added to the center of your image.
  3. Add More Pins as Needed: Click different areas of your image to add more pins. Each pin can be adjusted independently to control the blur amount in that area.
  4. Adjust the Blur Amount: With each pin selected, drag the Blur Ring around it to increase or decrease the blur. This creates a gradual blur effect that can mimic real-life depth.
  5. Fine-Tune the Effects: Use additional options within the Blur Gallery, such as Light Bokeh or Color Bokeh, to add more visual interest to your image.

Method 4: Blurring with a Layer Mask

For more control over where the blur effect is applied, using a Layer Mask can give you the flexibility to selectively blur certain parts of your image.

  1. Duplicate the Background Layer: As always, start by duplicating your background layer to work non-destructively.
  2. Apply a Blur Filter: Choose any blur filter from the Filter > Blur menu (e.g., Gaussian Blur, Motion Blur, etc.).
  3. Add a Layer Mask: Click the Add Layer Mask button at the bottom of the Layers Panel. This will create a mask linked to your blurred layer.
  4. Use a Brush to Reveal the Blur: With the Layer Mask selected, choose the Brush Tool, set the Foreground Color to Black, and paint over areas where you want to remove the blur. Painting with White will reapply the blur.
  5. Adjust the Opacity and Flow: Lowering the Brush Opacity and Flow allows you to gradually blend the blur, making for a smoother transition between blurred and sharp areas.

Method 5: Blurring Moving Objects with Motion Blur

To simulate the effect of movement, use the Motion Blur filter.

  1. Duplicate the Background Layer.
  2. Select the Moving Object: Use a Selection Tool to outline the object you want to blur.
  3. Apply Motion Blur: Go to Filter > Blur > Motion Blur. Adjust the Angle to match the direction of movement and the Distance slider to control how much blur is applied.
  4. Refine the Selection: Use a Layer Mask to blend the motion blur effect with the rest of the image for a realistic look.

Additional Tips and Tricks

  • Use Smart Objects: Convert your layer to a Smart Object before applying any blur filters. This allows you to adjust the blur settings later without permanently affecting the original image.
  • Combining Multiple Blurs: Don’t be afraid to use more than one blur technique. For instance, you could use a Gaussian Blur for the background and a Motion Blur for a moving object.
  • Feathering Your Selections: When using selection tools, adding a feather can help smooth the edges of the blurred area, making the effect more natural.
  • Avoid Over-Blurring: Subtlety is key with blur effects. Overdoing it can make the image look artificial.

Conclusion

Blurring objects in Photoshop is a versatile technique that can enhance your images, add focus, or create artistic effects. Whether you’re using the basic Blur Tool or more advanced techniques like Field Blur and Motion Blur, Photoshop gives you plenty of options to achieve professional-looking results. With these methods, you can start experimenting with different types of blurs to see what works best for your creative projects.

Blurring may seem simple, but mastering it can elevate your Photoshop skills and make your images stand out. So, go ahead and give these techniques a try!

Scroll to Top